Wednesday Why: Dehydrators
What are the benefits of having a dehydrator? There are different ways to dehydrate food, you can sun-dry, use the oven or even a microwave (though I haven’t tried that yet), use a sun oven, and of course dehydrators. Some of the pros of using a dehydrator can include being able to control the temperature, keeping the bugs away, not as much energy as an oven. The cons--well some dehydrators can be loud, they do take up space on the counter and depending on the type, the initial cost can be high. By dehydrating food, you can store more in less space--yeah!
What should be considered when choosing a dehydrator? When deciding whether to buy a dehydrator or not and which type/size, you will want to think about how often you will be using it and how much at once will need to be dried, what kind of foods you want to dry and cost. If you don’t garden, you may not be using it as much. But then again you may if you buy produce in bulk or on sale regularly. Do you plan to make fruit leathers, jerky, dry herbs, or simply dry fruits and veggies? Some dehydrators are better than others. Dehydrators come in different sizes and some are able to expand if you want to have adjustable sizes. Some dehydrators are limited into the size of the food that can be dried, whereas others have trays that can be removed to allow for larger food like when making yogurt or raising bread. Another thing to consider are the features: temperature dials, digital controls, timers, etc. I personally don’t think a timer is as important as a temperature dial, since I don’t plan on having the dehydrator start/stop when I can’t be there to do so. Whether you prefer dial or digital temperature control is up to you. Also some dehydrators claim to be faster, and perhaps they are, but personally that isn’t a factor to me as you don’t want your food to case-harden (where the outside hardens and doesn’t allow the inside to dry) which can happen if you are drying at too high a temperature (because of trying to make the drying go faster).
Accessories: I highly suggest getting mesh screens for your trays--some are labeled as mesh screens (like for a L’Equip) others have fancy names like “clean-a-screen” (Nesco models). They make clean up so much easier!!! You can easily make your own mesh screens--craft stores sell the plastic mesh stuff (ahh those not so forgotten tissue box holders made from mesh screen and yarn--yep it’s basically the same stuff, I’ve used both the commercial ones and the craft store ones they perform around the same). Also most dehydrators come with a limited amount of fruit leather trays, if you plan to make a lot of fruit leather, I would buy the accessory fruit trays to up the amount of leathers you can make at once.
The final decision: If you have friends or family who have dehydrators, I highly suggest asking them if you can try them to see if you like them before buying. Otherwise, if you are unable to try for yourself, do your research, think about size, capacity, features (best to have temperature control), quality (look at warranty), what you plan on using it for & accessories as well as the cost. What of these will be most important to you? If cost is most important, you will most likely be looking at bottom or top mounted because they are the cheaper dehydrators generally. If quality is your most important aspect, look for those with the longest warranties and the best reviews. If capacity is the biggest deciding factor, rear-mounted and expandable dehydrators are your best option (with rear-mounted allowing for large doings like making yogurt and raising bread). If you plan on doing meats at all, you will want a dehydrator with temperature control.
Types of Dehydrators: There are dehydrators with the motor/fan on the bottom, top or in the back. There are pros and cons to each.
Bottom mounted fans: juices can and will drip down, so be sure you are willing and able to clean up the mess--as bottom mounted fans will have to be cleaned with a cloth rather than running under water or in a dishwasher. Many bottom mounted fans do allow for expansion by buying extra trays. So that is one positive of many of the bottom mounted fan dehydrators.
Some examples include: L’Equip food dehydrators. I haven’t personally used these, but have researched them and read reviews--overall they seem to be a good choice for bottom mounted fans. Based on what I have read, it has one of the longest manufacturer’s warranties available (12 years on some models). These run around $100 to $150, depending on model and accessories.
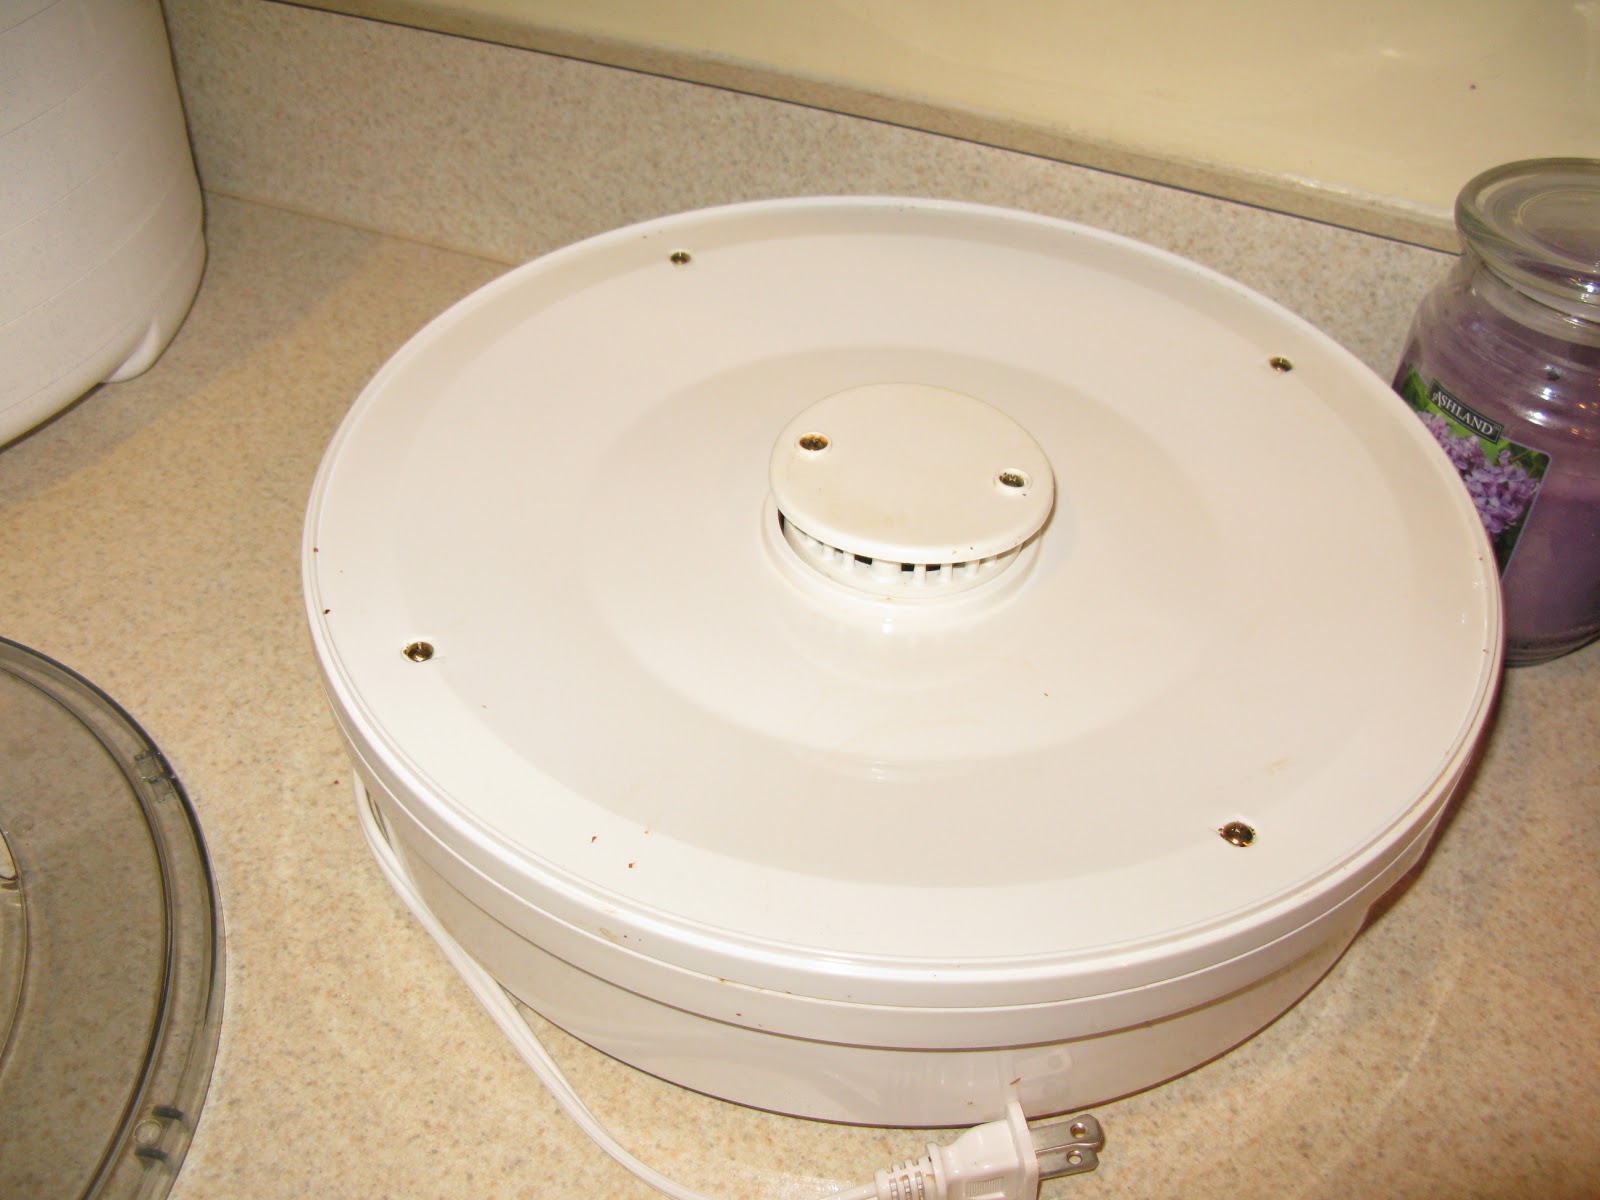
As far as bottom mounted fan dehydrators go, I’ve only used a generic (Durabrand) one from Walmart years ago (for about $15 or $20). It does fine with fruits, veggies and fruit leathers, but I wasn’t brave enough to try meats because it doesn’t have a temperature control and meats should be done at a higher temperature. It has lasted over 10 years with periodic use, so even generic ones can and will work. Cleaning the base that housed the fan, wasn’t too bad--I usually left a damp cloth on the juices for a bit to help loosen them up, and they usually cleaned up rather easily. See pics of before cleaning and after:

This was from when I dried frozen strawberries, quite a mess, but it cleaned up nicely too. The fan sits a little above so no liquid got into it.
Top mounted fans: the juices that drip down will go onto a bottom tray thing that can be washed submersed in water if need be. Many top mounted fan dehydrators can be expanded by buying more trays.
Some examples include: Nesco food dehydrators. There are a variety of models, but most of the ones I’ve come across have good reviews. I personally have used one, it does great with fruits, veggies, leathers, and meats. There is no on/off switch though--to turn on you plug it in, to turn off you unplug--not a big deal for me, but if you prefer on/off buttons/switches this isn’t the one for you. The trays clean easily. These dehyrdators usually run around $30 to $100, depending on model and accessories. Price-wise, the Nesco brand gives a lot for your money.

Rear mounted fans: These hype that they are better than any other type of mounted fan, and perhaps they are. My personal experience was that when compared with the top mounted Nesco, it didn’t seem to be all that big of a difference. BUT, the biggest benefit to these types of dehydrators is that usually you can remove any number of trays to do things like making yogurt or raising bread loaves--a big plus if you plan to use a dehydrator to do these things. Also, depending on the size (number of trays) you have more drying space than the often smaller bottom or top mounted fan dehydrators. A negative is these types are big, they take up quite a bit of counter space compared to other dehydrators.
Some examples include: The number one favorite: Excalibur! Great reviews, again one of the longest warranties available (10 years) and a dehydrator’s favorite for years. Prices for these run around $150-400, depending on model.
I haven’t used the Excailbur, but would like to someday:). I did try a rear mounted fan dehydrator from Cabela's, that has a similar design in that it has 10 trays, rear mounted fan, dial temperature control. I like the clear hinged door on Cabela’s dehydrator--I could see the food and monitor its drying. The cons of this Cabela’s dehydrator over Excalibur (at least in my point of view) are: this model did not come with mesh screens or fruit leather trays; I had to cut some craft mesh screens to size (not a problem at all to do so); and have yet to figure out or try making fruit leather screens (maybe plastic wrap?) whereas the Excalibur does have these available if not when you buy it, at least as accessories. The model I tried was a sale deal model so that may be why it didn’t come with accessories. Another model sold currently is around $200 and that one does have accessories available.
Note: prices are based on price of unit, they do not include any shipping and handling. Most prices came from Amazon, except for Cabela’s.